How to Change Default Recycle Bin Size on Windows 10?
It is a known fact that when we delete a file in any Windows system, it moves to Recycle Bin and stays there until you empty the Recycle Bin folder. In every Windows OS, including Windows 10 by default Recycle Bin occupies 10% of the total disk size and when it reaches the maximum limit, files exist on it will be removed in a FIFO (First In First Out) order.
If you don’t want to lose old files stored on Recycle Bin, then you can adjust your Recycle Bin size. So that existing files remain intact there until you wish to remove them. Here are the steps to resize Recycle Bin on Windows 10-
1. Select Recycle Bin icon on the desktop
2. Right-click on that and select Properties from the pop-up menu
3. The Recycle Bin properties window appears. You can view all the disk associated with Recycle Bin
4. In the Settings for Selected Location, you will find 2 radio buttons
5. The first radio button "Custom size" helps to resize your Recycle Bin
6. Select the Custom Size button and then the edit size of the selected Recycle Bin storage
7. Finally, click on Apply and then OK
Now, your Recycle Bin folder can hold more files than the default size. If you don’t want to take more disk space for Recycle Bin, then you can even reduce it.
But as stated before, when Recycle Bin reaches its maximum limit the older files will be removed from it. Also when you delete the files that are too large for the recycle bin folder then it gets bypasses. To recover bypassed files from Windows 10, you need to use efficient tools like Recycle Bin Recovery software. Not just Windows 10, you can also make use of this tool on any Windows OS for recovering Recycle Bin files.
Recycle Bin Recovery software is helpful
- To recover files deleted using the Shift-Delete key
- Revive files deleted from the Windows 10 command prompt
- Retrieve files emptied from Recycle Bin on Windows 10 and other versions of Windows OS
- For recovering files that bypass Recycle Bin due to file oversize issue
Steps to Recover Files from Recycle Bin
Step 1: Download Recover Recycle Bin on Windows 10 computer.
Step 2: From the main screen, select “Recover Files” option.
Step 3: Browse the logical drive partition that stores the Windows 10 recycle bin folder. Click on the Scan icon.
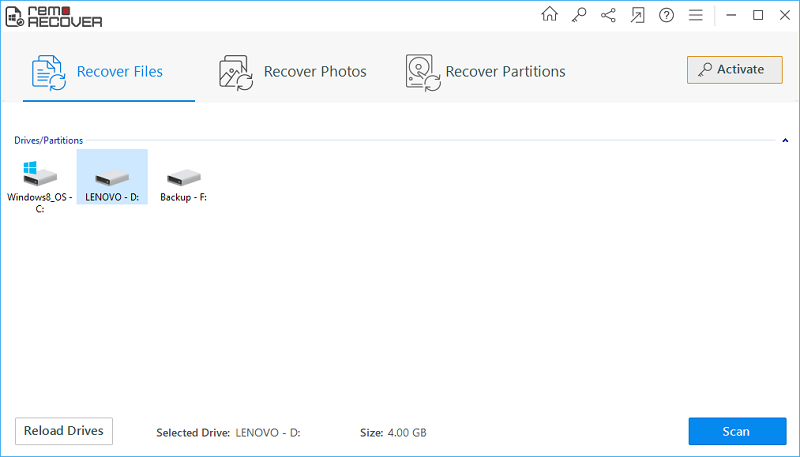
Fig A: Main Window
Step 4: Allow the software to completely scan the selected storage drive.
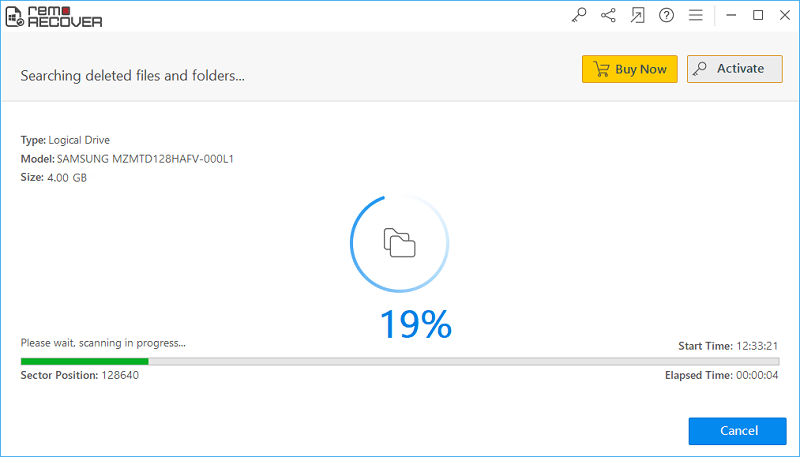
Fig B: Scanning in Progress
Step 5: All the recoverable files will be listed under Data View and File Type View panes.
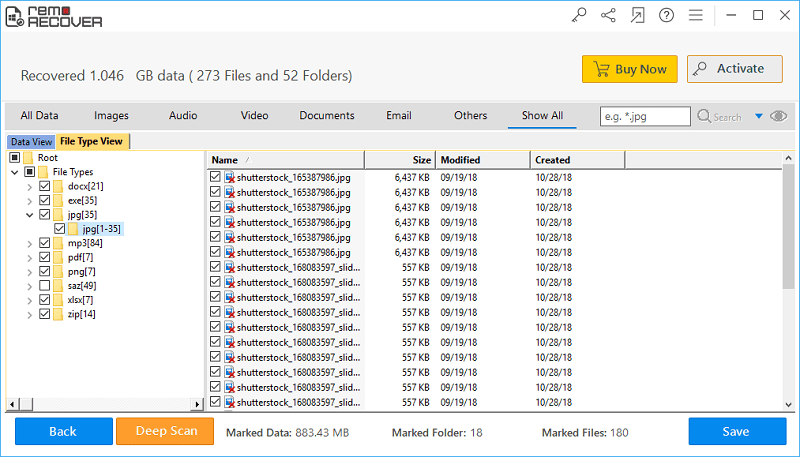
Fig C: List of Restored Files
Step 6: Preview the recovered file items and mark the required files.
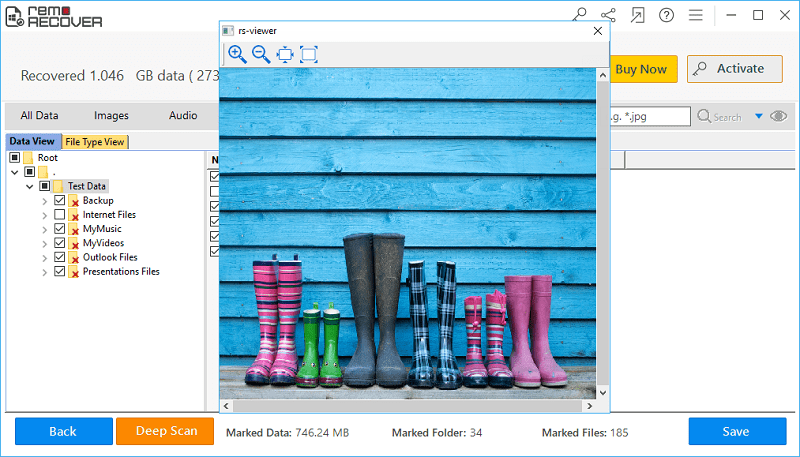
Fig D: Preview Recovered Files
Step 7: Set a destination location to save the files recovered from the Windows 10 recycle bin.
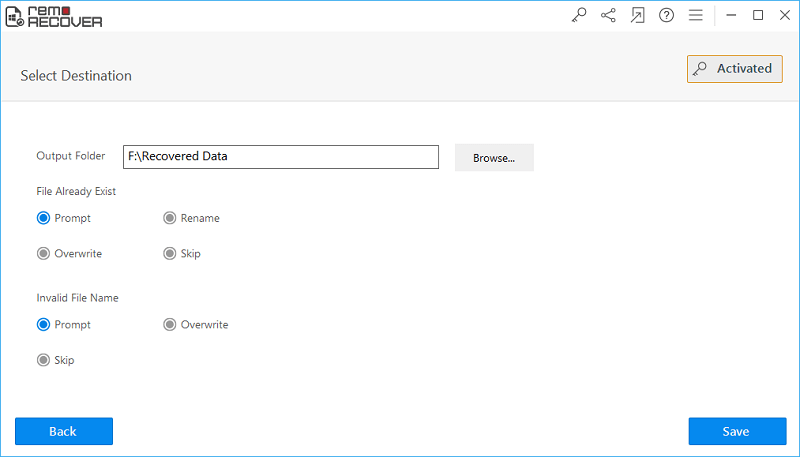
Fig E: Save the Recovered Data